ChaosCenter installation
Prerequisites
tip
Litmus recommends you have a persistent volume (PV) of 20GB. You can start with 1GB for test purposes. This PV is used as persistent storage to store the chaos configuration and other chaos metrics in the portal. By default, the litmus install command uses the default storage class to allocate the PV.
Installation
If you are a first time Litmus user, you can install Litmus in two ways:
- Use a hosted Litmus service like Harness Chaos Engineering SaaS. Go to [install hosted service] to know more.
OR
- Install Litmus in your Kubernetes cluster. Go to [self-hosted service] to know more.
If you wish to install Litmus in your Kubernetes cluster (that is, self-hosted), Install and Configure docs for installing alternate versions and more detailed instructions.
Self-hosted service
You can install self-hosted Litmus in two ways:
- Using Helm.
- Using kubectl YAML spec file.
tip
With the 3.9.0 release, cluster scope installation has been deprecated. Only namespaced scope is supported and is the standard installation mode.
Install Litmus using Helm
The helm chart will install all the required service account configuration and ChaosCenter.
The following steps will help you install Litmus ChaosCenter via helm.
1. Add the Litmus Helm repository
Execute the below commands on your terminal.
helm repo add litmuschaos https://litmuschaos.github.io/litmus-helm/
helm repo list
2. Create the namespace where you want to install Litmus ChaosCenter
You can place ChaosCenter in any namespace, but for this case, choose litmus as the namespace.
kubectl create ns litmus
3. Install Litmus ChaosCenter
Execute the below command on your terminal.
helm install chaos litmuschaos/litmus --namespace=litmus --set portal.frontend.service.type=NodePort
note
- your Kubernetes cluster isn't local, you may want not to expose Litmus via
NodePort. In that case, remove--set portal.frontend.service.type=NodePortoption. - To connect to Litmus UI from your laptop, you can use
port-forward svc/chaos-litmus-frontend-service 9091:9091. And open127.0.0.1:9091on your browser.
Litmus helm chart depends on bitnami/mongodb Helm chart, which uses a MongoDB image that is not supported on ARM. If you want to install Litmus on an ARM-based server, replace the default with your custom MongoDB ARM image as shown below.
helm install chaos litmuschaos/litmus --namespace=litmus \
--set portal.frontend.service.type=NodePort \
--set mongodb.image.registry=<put_registry> \
--set mongodb.image.repository=<put_image_repository> \
--set mongodb.image.tag=<put_image_tag>
NAME: chaos
LAST DEPLOYED: Tue Jun 15 19:20:09 2021
NAMESPACE: litmus
STATUS: deployed
REVISION: 1
TEST SUITE: None
NOTES:
Thank you for installing litmus 😀

Your release is named chaos and its installed to namespace: litmus.

Visit https://docs.litmuschaos.io to find more info.
tip
Litmus uses Kubernetes CRDs to define the chaos intent. Helm3 handles CRDs better than Helm2. Before you run a chaos experiment, verify if Litmus is installed correctly.
Install Litmus using kubectl
You need to install Mongo via helm and apply the installation manifest. Go to installation instructions for Litmus Beta.
Install Mongo
helm repo add bitnami https://charts.bitnami.com/bitnami
Mongo values
  auth:
  enabled: true
  rootPassword: "1234"
  # -- existingSecret Existing secret with MongoDB(®) credentials (keys: `mongodb-passwords`, `mongodb-root-password`, `mongodb-metrics-password`, ` mongodb-replica-set-key`)
  existingSecret: ""
architecture: replicaset
replicaCount: 3
persistence:
  enabled: true
volumePermissions:
  enabled: true
metrics:
  enabled: false
  prometheusRule:
    enabled: false

# bitnami/mongodb is not yet supported on ARM.
# Using unofficial tools to build bitnami/mongodb (arm64 support)
# more info: https://github.com/ZCube/bitnami-compat
#image:
#  registry: ghcr.io/zcube
#  repository: bitnami-compat/mongodb
#  tag: 6.0.5
helm install my-release bitnami/mongodb --values mongo-values.yml -n <NAMESPACE> --create-namespace
Litmus supports HTTP and HTTPS mode of installation.
Basic installation (HTTP-based and allows all origins)
Applying the manifest file installs all the required service account configuration and ChaosCenter in the namespaced scope.
kubectl apply -f https://raw.githubusercontent.com/litmuschaos/litmus/master/mkdocs/docs/3.9.1/litmus-getting-started.yaml -n <NAMESPACE>
Advanced installation (HTTPS-based and CORS rules apply)
For advanced installation visit advanced installation
Hosted (beta) service
Harness offers a free service for community members which makes getting started with Litmus easy. Create an account to get started. Once you log in, create a new hosted control plane and connect to it via the CLI.
You can use Litmus as a hosted cloud service using Harness Chaos Engineering SaaS. Harness Chaos Engineering SaaS executes your chaos experiments in the cloud by managing all your chaos control plane components. The chaos execution plane components exist on your Kubernetes cluster as part of an external chaos infrastructure.
To get started with Harness Chaos Engineering SaaS, go to Harness developer hub and register for free.
Verify your installation
Verify if the frontend, server, and database pods are running
Check the pods in the namespace where you installed Litmus:
Expected Outputkubectl get pods -n litmusNAME READY STATUS RESTARTS AGE
litmusportal-server-6fd57cc89-6w5pn 1/1 Running 0 57s
litmusportal-auth-server-7b596fff9-5s6g5 1/1 Running 0 57s
litmusportal-frontend-55974fcf59-cxxrf 1/1 Running 0 58s
my-release-mongodb-0 1/1 Running 0 63s
my-release-mongodb-1 1/1 Running 0 63s
my-release-mongodb-2 1/1 Running 0 62s
my-release-mongodb-arbiter-0 1/1 Running 0 64sCheck the services running in the namespace where you installed Litmus:
Expected Outputkubectl get svc -n litmusNAME TYPE CLUSTER-IP EXTERNAL-IP PORT(S) AGE
chaos-exporter ClusterIP 10.68.45.7 <none> 8080/TCP 23h
litmusportal-auth-server-service NodePort 10.68.34.91 <none> 9003:32368/TCP,3030:31051/TCP 23h
litmusportal-frontend-service NodePort 10.68.43.68 <none> 9091:30070/TCP 23h
litmusportal-server-service NodePort 10.68.33.242 <none> 9002:32455/TCP,8000:30722/TCP 23h
my-release-mongodb-arbiter-headless ClusterIP None <none> 27017/TCP 23h
my-release-mongodb-headless ClusterIP None <none> 27017/TCP 23h
workflow-controller-metrics ClusterIP 10.68.33.65 <none> 9090/TCP 23h
Access the ChaosCenter
To setup and login to ChaosCenter, expand the available services you created and copy the PORT of the litmusportal-frontend-service service.
kubectl get svc -n litmus
NAME                               TYPE        CLUSTER-IP     EXTERNAL-IP   PORT(S)                         AGE
litmusportal-frontend-service      NodePort    10.43.79.17    <none>        9091:31846/TCP                  102s
litmusportal-server-service        NodePort    10.43.30.54    <none>        9002:31245/TCP,8000:32714/TCP   101s
litmusportal-auth-server-service   NodePort    10.43.81.108   <none>        9003:32618/TCP,3030:31899/TCP   101s
mongo-service                      ClusterIP   10.43.227.10   <none>        27017/TCP                       101s
mongo-headless-service             ClusterIP   None           <none>        27017/TCP                       101s
note
In this case, the PORT for litmusportal-frontend-service is 31846. Your port will be a different one.
Once you copy the PORT to your clipboard, use your IP and PORT in the following manner: <NODEIP>:<PORT> to access the Litmus ChaosCenter.
For example:
http://172.17.0.3:31846/
Where
172.17.0.3is your NodeIP and31846is the frontend service PORT. If you are using a LoadBalancer, provide a<LoadBalancerIP>:<PORT>. Learn more about how to access ChaosCenter with LoadBalancer
note
With advanced installation, CORS rules are applied. Once the manifest is applied, the frontend LoadBalancer IP needs to be added to the ALLOWED_ORIGINS environment in both auth and graphql server deployment.
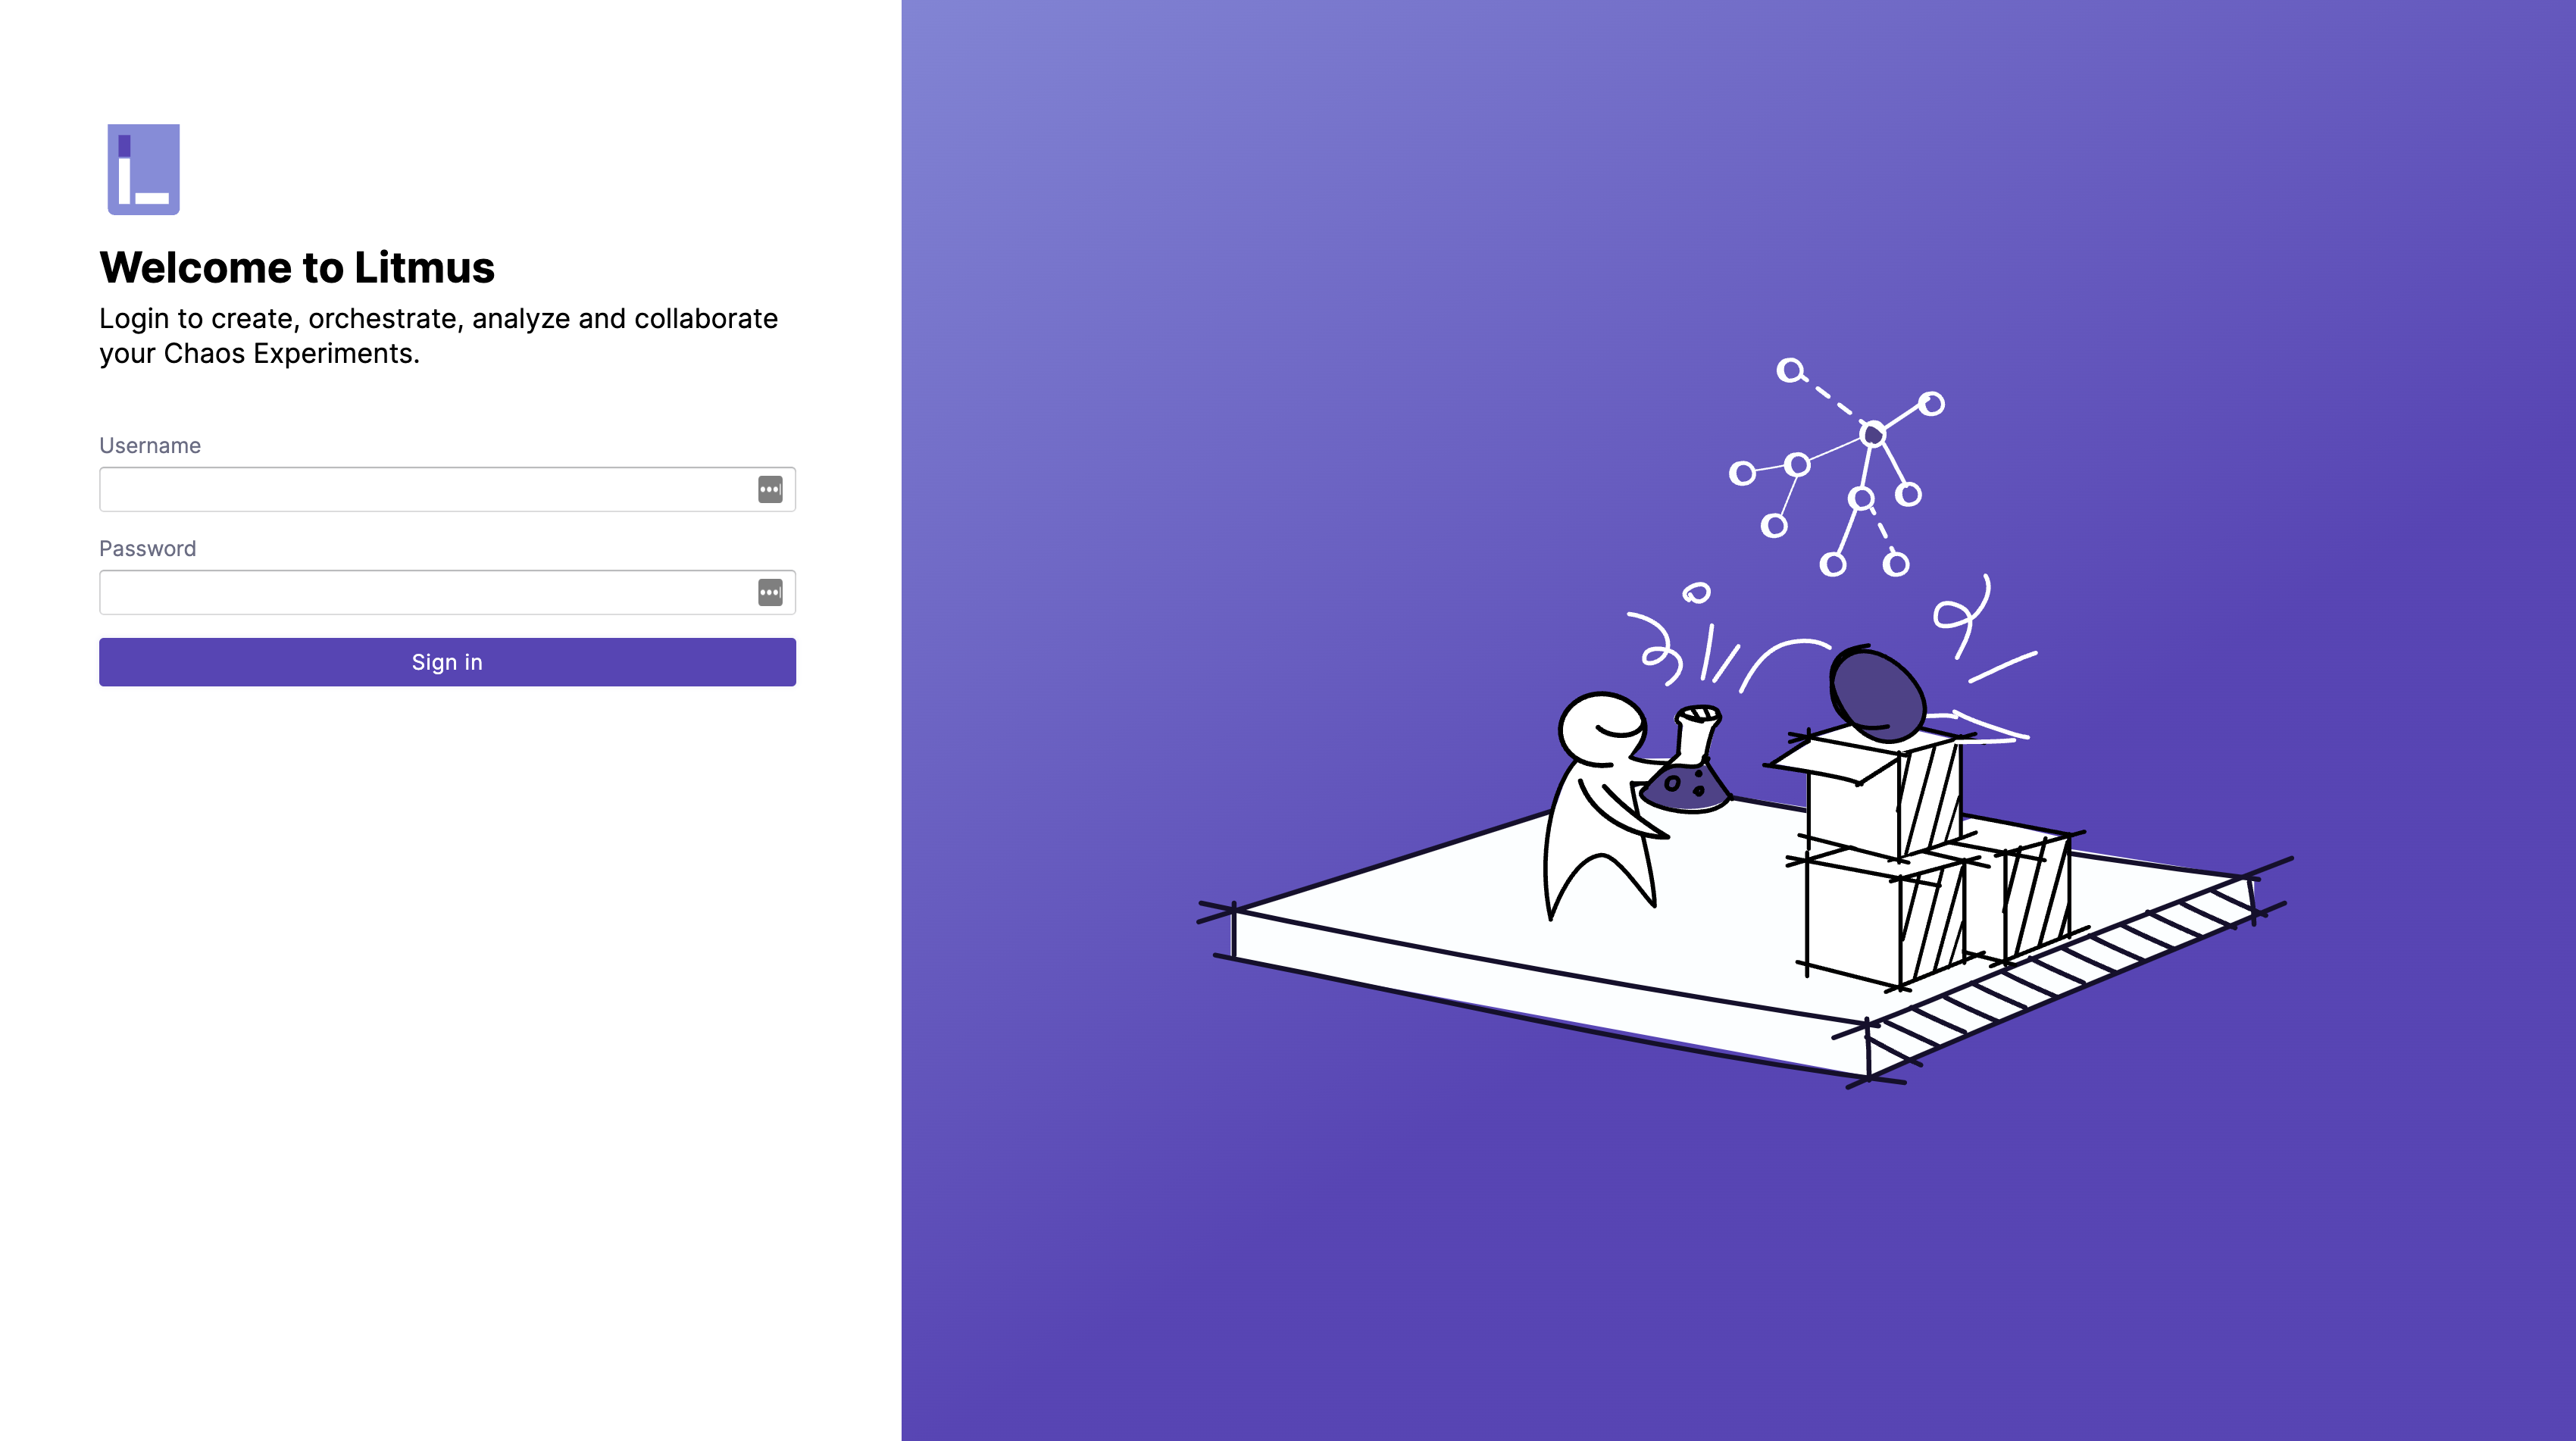
You will see the login page of Litmus ChaosCenter. The default credentials are:
Username: admin
Password: litmus
By default, you are assigned to a default project with owner permissions.